Industrial Computed Tomography (iCT)
Industrial computed tomography is much more than just a form of radiographic examination.
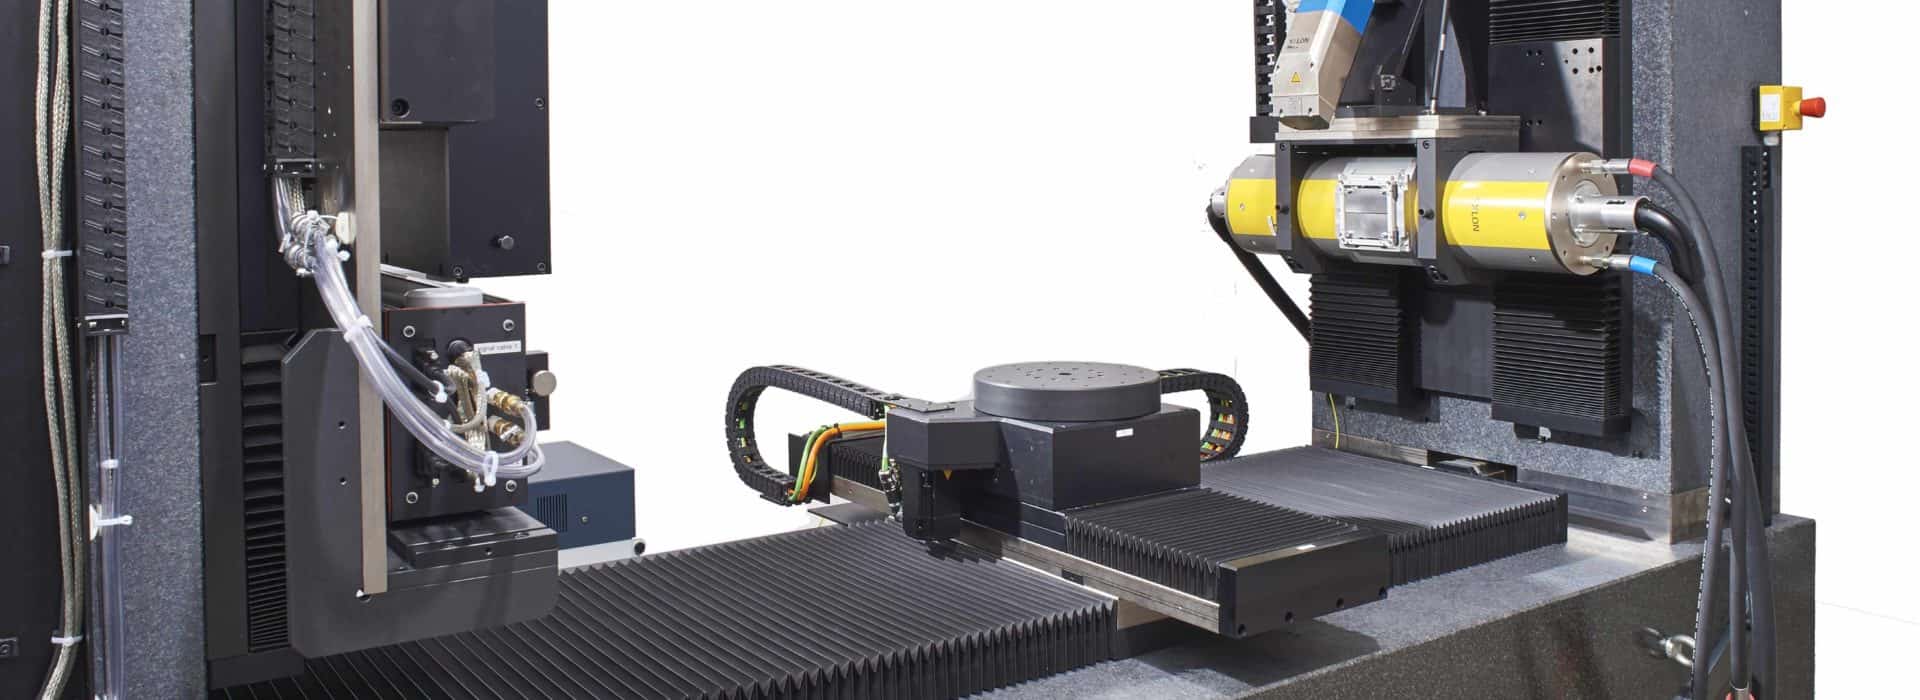
One of the largest and most modern computer tomographs in Switzerland
The Eurofins Qualitech test centre, one of the leading material and component testing institutes, operates one of the most modern and comprehensive industrial computer tomographs in Switzerland. It has been shown that computed tomography is now an indispensable part of materials testing, damage investigation and component measurement.
The high acceleration voltage of the 600 kV X-ray tube makes it possible to X-ray components with a wall thickness accumulated in the beam direction of up to approx. 90 mm steel or approx. 300 mm aluminium. Due to the possibility of operating the system free-standing in a bunker with very high granite towers, components up to 3 m and 350 kg can be analyzed. Of course, such a system must also be compatible for high-resolution applications. A second X-ray tube with 225 kV acceleration voltage was installed for this purpose. Thus resolutions of up to 15 micrometers can be realized.
Industrial computed tomography makes it possible, non-destructively and within a short time, to generate a digital image of the actual state of an object, making even the testing of large series interesting. Afterwards, the obtained data set can be specifically analyzed and a direct comparison with the target state can be made. Compared to conventional, non-destructive material testing or tactile measuring methods, the CT system offers several advantages. Industrial computed tomography makes it easier to detect cracks, for example, which are often difficult to detect with conventional 2D radiographic inspection. In the field of metrology (measuring) it is possible to measure internal structures which are not accessible tactilely or optically.

